Your YouTube thumbnail is your video's first impression. It’s the single most important factor that determines whether someone clicks on your content or just keeps scrolling. A thumbnail preview is simply a way to see exactly how that image will look in the wild—on a phone, on a desktop, in search results—before you hit publish. Skipping this step is one of the easiest ways to kill a video's potential.
Why Your Thumbnail Preview Is Your Most Important Click Signal
Think of your thumbnail as a digital handshake. A preview ensures it’s a firm one. I’ve seen it a hundred times: a design that looks incredible on a big 27-inch monitor becomes a blurry, unreadable smudge on a mobile screen. And since that's where most people watch YouTube, you've just lost a massive chunk of your audience.
Previewing isn't just about ticking a box. It's about stress-testing your video's most critical marketing asset. Using a youtube thumbnail preview reveals the kind of fatal flaws that sink a video's performance before it even has a chance.
Catching Critical Design Flaws Early
A quick preview helps you spot common click-killers that are surprisingly easy to miss when you're staring at a full-size design file. These aren't just minor tweaks; they're the difference between a click and a scroll.
Here are the most common issues a preview will immediately expose:
- Poor Readability: That stylish, thin font you love? It’s completely illegible when shrunk down. Text that's too small or blends into the background is an instant turn-off.
- Weak Color Contrast: Colors that look vibrant on your design software can appear muddy and dull on a smaller phone display, failing to grab anyone's attention in a crowded feed.
- Confusing Composition: A cluttered design is an immediate "no." If a viewer can't understand what your video is about in a split second, they're gone.
- Lack of Emotional Appeal: Does the face in your thumbnail look genuinely excited or just a bit awkward? A preview helps you gauge the immediate emotional hook of your image.
Your thumbnail isn’t just a static image; it’s an advertisement for your content. If the ad is unappealing or confusing, the product behind it—your video—never gets a chance to shine.
Connecting Previews to Algorithm Success
This whole process ties directly into what the YouTube algorithm cares about most. The platform wants to keep users engaged, so it promotes videos that people actually click on. That all comes down to one key metric: click-through rate (CTR). This is the percentage of people who see your thumbnail and choose to watch.
A high CTR is a massive signal to YouTube that your content is compelling. The algorithm responds by showing your video to more people in recommendations and search results. So, spending a few extra minutes previewing your thumbnail isn't just about making things look pretty—it's a direct strategy to feed the algorithm what it wants and boost your video's reach.
To really dig into this, you need to understand the bigger picture of how to improve click-through rates. When you nail this one element, you turn a simple design check into a powerful engine for channel growth. We also cover more on this in our deep-dive on how to improve your YouTube click-through rate.
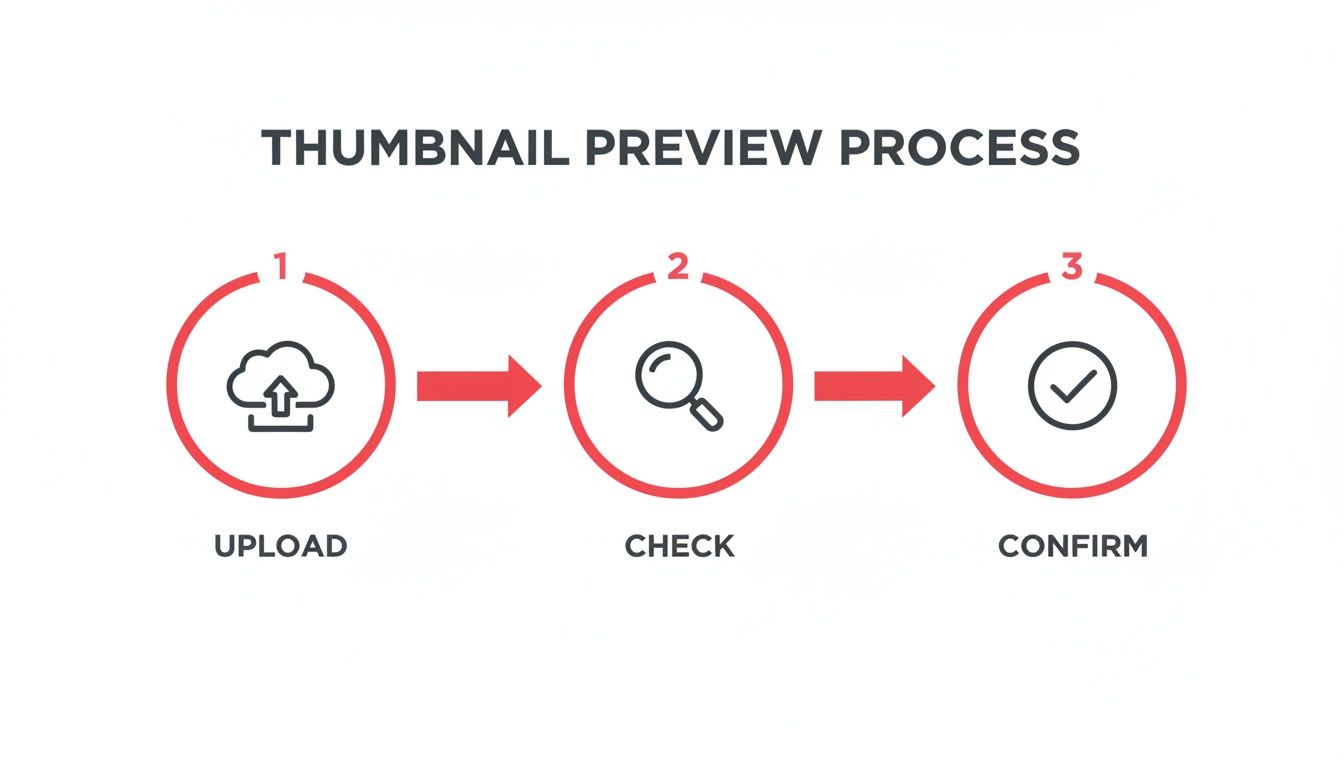
Using YouTube Studio for Your First-Look Preview
Before you even touch an outside tool, your most important YouTube thumbnail preview is waiting for you right inside YouTube Studio. I can't stress this enough—this is your first line of defense against easy-to-avoid design mistakes. It’s the foundational check every single creator should make, every single time.
When you upload a video and head to the ‘Details’ page, you’ll find the thumbnail section. Once you've uploaded your custom image, stop and really look at the small preview that pops up. Don't just glance. Scrutinize it. Is any part of your design getting awkwardly cut off? Are the colors showing up how you expected, or do they look a little muddy?
This initial check catches more problems than you'd think. I've had designs that looked absolutely perfect in Photoshop, only to reveal a slight misalignment or a funky color balance once YouTube processed the file.
Adhering to YouTube’s Technical Specs
Getting that first preview right usually comes down to one thing: respecting YouTube's technical requirements from the very beginning. These aren't just suggestions; they are hard-and-fast rules to prevent compression from turning your sharp design into a blurry mess. Ignore them, and you could kill your click-through rate before the video even goes live.
YouTube’s specs are all about making sure your thumbnail looks crisp everywhere.
- Resolution: 1280×720 pixels
- Aspect Ratio: 16:9
- Minimum Width: 640 pixels
- File Size: Under 2MB
These numbers aren't random. They ensure your image looks pixel-perfect across the Home feed, in the Recommended sidebar, and especially on mobile devices, where over 70% of views now happen. Sticking to these guidelines is non-negotiable.
Your YouTube Studio preview is your ground truth. If the thumbnail looks weak or blurry here, it will look even worse out in the wild on the YouTube homepage.
This simple, built-in preview is your first chance to spot a problem and fix it. If you want to get into the nitty-gritty of sizing, check out our detailed guide on YouTube video thumbnail sizes. Nailing this first step inside the Studio builds a solid foundation before you start simulating how it will look on different devices.
Simulating Previews Across Different Devices
A thumbnail that looks fantastic blown up on your 27-inch monitor can easily become an unreadable, blurry mess on a smartphone screen. This is where the real work begins. To make a thumbnail that truly performs, you have to simulate how it will actually look to a viewer, ensuring it pops no matter where they're scrolling.
Think of it as stress-testing your design. This simple sanity check is your last line of defense against fuzzy text, muddled colors, or a composition that just doesn't land before you hit publish.
Treating this as a deliberate quality control workflow—not just a quick glance—is what separates the pros from the amateurs.
Mastering The Desktop Browser Preview
You don’t need any fancy software to get a solid idea of how your thumbnail will look on mobile. Your web browser already has surprisingly powerful tools built right in. My personal go-to for a quick and dirty mobile check is the "Inspect" feature in browsers like Google Chrome. It's a simple trick that tells you so much.
Here’s how you can do it yourself:
- First, open your thumbnail image file directly in a new browser tab.
- Right-click anywhere on the image and choose "Inspect" from the context menu.
- A developer panel will pop up. Look for an icon that resembles a phone and tablet (Toggle device toolbar) and click it.
- From there, you can use the dropdown to select different device presets like "iPhone 12 Pro" or "Pixel 5" to see exactly how your design scales down.
Look closely. Is your text still legible? Does the key subject of the image still command attention? This one check often reveals that a font needs to be bumped up a few points or an element needs to be enlarged to make an impact.
The Shrink-And-Squint Test
Beyond simulating specific phones, you have to remember where your thumbnail will live: in crowded YouTube feeds. It will be a tiny rectangle competing for attention in the "Up Next" sidebar, search results, and the homepage. In these spots, it's incredibly small.
That’s why I rely on a simple, low-tech method I call the "shrink-and-squint test."
Just zoom out on your design in Photoshop or Canva until it’s roughly the size of a postage stamp. Now, take a step back and squint your eyes. Can you still immediately tell what the video is about? Can you still feel the emotion? If it just turns into a colorful blob, it’s not going to cut through the noise. This test forces you to prioritize a strong, simple composition that works at any scale.
A great thumbnail should pass the squint test with flying colors. If the core message is lost when it’s small and blurry, it won’t stand a chance in a busy subscription feed.
One final check is to account for YouTube’s own interface elements. The little timestamp in the corner can easily cover up a crucial word or part of your image. To avoid this, a YouTube Safe Zone Checker is invaluable. These tools show you exactly where overlays will appear, helping you keep your most important visual information safe and clear.
Comparing Thumbnail Preview Methods
Choosing the right preview method often depends on how much time you have and what you need to check. Below is a quick breakdown to help you decide which approach fits best into your workflow.
| Preview Method | Best For | Key Advantages | Potential Limitations |
|---|---|---|---|
| Browser Dev Tools | Quick mobile screen simulation | Free and built into your browser; shows accurate scaling on different devices. | Doesn't simulate YouTube's UI (e.g., timestamps) or color profile changes. |
| The "Squint Test" | Checking overall composition & impact | Fast, simple, and excellent for testing visual clarity and emotional punch at a distance. | Highly subjective; doesn't provide precise technical feedback on legibility. |
| Safe Zone Checkers | Final design and layout checks | Pinpoints exactly where YouTube's UI overlays will appear, preventing crucial elements from being covered. | An extra step in the process; focuses on layout, not color or compression. |
Ultimately, a combination of these methods will give you the most complete picture. I'll often start with the squint test to nail the composition, then use browser tools for a mobile check, and finish with a safe zone checker before finalizing the design.
Advanced Previews With Third-Party Tools
While the browser "squint test" is a great gut check, dedicated third-party tools give you a serious competitive advantage. They go way beyond just resizing your image. These tools simulate exactly how your thumbnail will look in the wild—on the YouTube homepage, in search results, and on different devices—right next to the videos you're competing against.
This youtube thumbnail preview in a real-world context is what separates a good thumbnail from a great one. It’s one thing to love your design on a big monitor in your editing software, but it's another to see it get completely lost next to a dozen other flashy thumbnails in a search results mock-up.
Seeing your thumbnail in its natural habitat immediately answers the critical question: Does it pop, or does it blend in?
Testing for Visual Clarity and Accessibility
The best preview tools don't just show you what your thumbnail looks like; they help you diagnose potential problems. Two of the most powerful features I’ve come to rely on are the blur test and color simulators.
- The Blur Test: This is a simple but brilliant feature. It adds a slight blur to your thumbnail to simulate what a viewer sees in a quick, subconscious glance. If you can still make out the main subject and feel the intended emotion, you've nailed the composition. If it just looks like a muddy mess, your design is probably too busy.
- Color Simulators: It's easy to forget that a significant number of people have some form of color vision deficiency. These simulators show you what your thumbnail looks like to someone with conditions like deuteranopia (red-green color blindness). This helps you ensure your color choices and contrast work for everyone, not just a portion of your potential audience.
This isn't just about nitpicking your design. It's about making smart, data-informed decisions before you publish. You're moving from hoping your thumbnail performs well to knowing it's been tested for real-world conditions.
Finding the Right Tool for Your Workflow
So, where do you find these features? Many platforms you might already be using have them built right in. Tools like Canva and TubeBuddy integrate device and feed simulations directly into their design process, which is incredibly convenient. You can also find standalone web apps designed specifically for this, where you just upload your image and get instant feedback.
As you explore, think about how a tool fits into your overall optimization strategy. If you're really committed to growing your channel, you might want to check out some of the best YouTube SEO tools available, as many of them bundle these preview features with other powerful analytics.
Ultimately, the goal is to find something that feels like a natural part of your process. Make this final preview a mandatory step on your pre-publish checklist. It’s a small habit that pays off with consistently stronger video performance and long-term channel growth.
Actionable Principles for High-Impact Thumbnail Design
A perfect youtube thumbnail preview is only half the battle; no amount of testing can salvage a thumbnail that’s weak, confusing, or just plain boring. The good news? You don't need to be a graphic design wizard to create something that works. It's really about understanding the psychology behind a click.
Think of your thumbnail as a tiny billboard on a packed digital highway. You have a split second to grab someone's attention, communicate your video's value, and spark enough curiosity to earn that click. Every single element—from the colors to the text—has to work in harmony to stop the scroll.
Master Color and Contrast for Emotional Impact
Color is your fastest way to set a mood without saying a word. Bright, saturated colors like yellows and reds can scream excitement or urgency. On the other hand, cooler tones like blues and greens often feel more professional, calm, or trustworthy. This isn't just about picking colors you like; it’s about choosing a palette that matches your video’s content and your channel’s vibe.
But even more critical than the color itself is strong contrast. A light gray font on a white background might look slick on your big design monitor, but it turns into an unreadable smudge on a phone screen.
- The High-Contrast Rule: Always place bright elements on a dark background or dark elements on a bright one. No exceptions.
- Brand Consistency: Sticking to a consistent color palette helps viewers instantly recognize your content in a crowded feed. Over time, they'll spot your videos without even reading the title.
This singular focus on contrast is what makes your thumbnail pop, even when it’s just a tiny rectangle in the "Up Next" sidebar.
A great thumbnail should be just as clear in black and white. If you strip away the color and the composition still works, you know you’ve built a solid foundation.
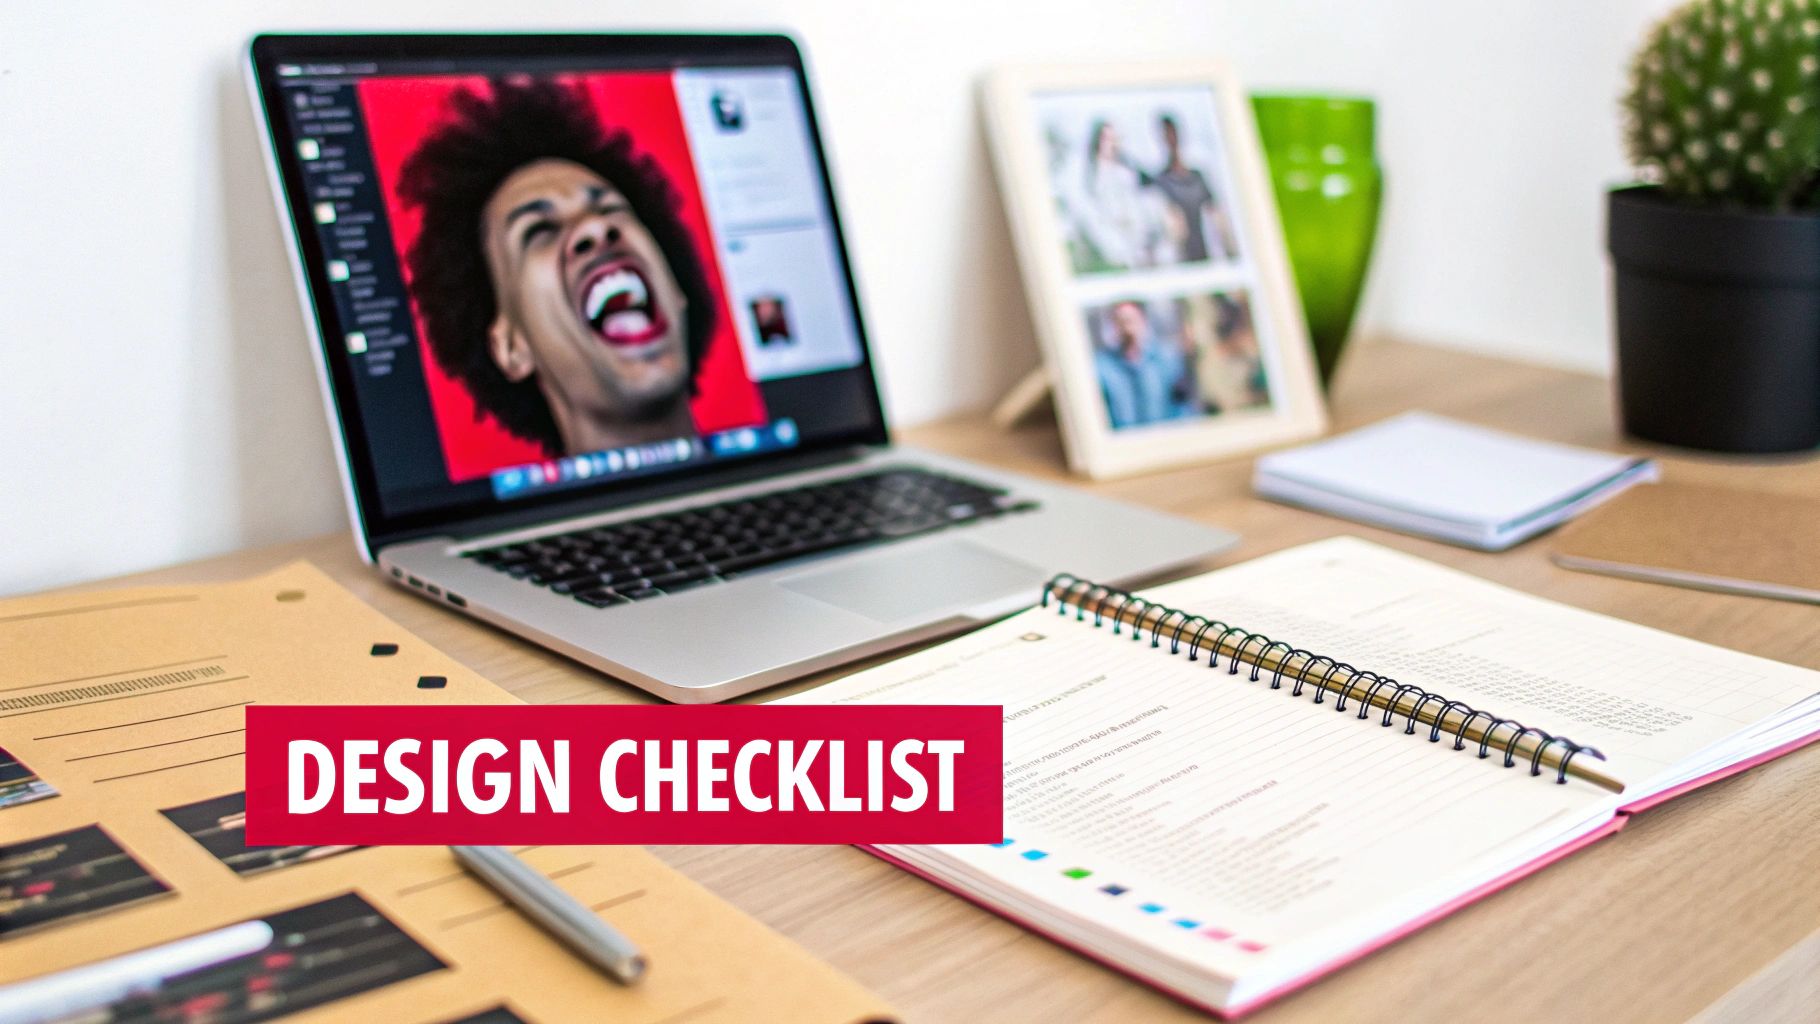
The Power of Expressive Human Faces
There’s a simple reason why so many of the most-clicked thumbnails feature a human face: our brains are literally wired to connect with them. A face showing genuine surprise, joy, or confusion is an emotional shortcut, telling the viewer exactly how they should feel about the content before they even read the title.
The data strongly supports this. Time and again, research shows that thumbnails with expressive faces can boost click-through rates by a staggering 20-30%. A human face creates an immediate connection and piques curiosity in a way that objects or graphics rarely can. You can get a deeper look into these YouTube thumbnail best practices to see just how powerful this is.
Keep Text Bold, Minimal, and Clear
When it comes to text on your thumbnail, less is always more. Your video's title is there for the details; the thumbnail text is your hook. Stick to just a few powerful words that add critical context or create a curiosity gap that the title can’t.
Your text absolutely must be:
- Large and Bold: Use a thick, clean font that’s easy to read even when shrunk down to the size of a postage stamp.
- Concise: Seriously, aim for 3-5 words at the most. Think "MIND BLOWN" or "HUGE MISTAKE," not a full sentence.
- Outlined or Shadowed: Adding a simple stroke or drop shadow makes your text pop right off the background, ensuring it’s readable no matter what image is behind it.
This is no place for delicate, artsy fonts. Readability beats style every single time. Combine these three pillars—strong contrast, an emotional face, and minimal text—and you’ll have a thumbnail that’s not just designed to look good, but engineered to perform.
Questions Creators Often Ask About YouTube Thumbnails
Even with the best tools, you're bound to run into a few nagging questions when you're in the middle of designing a thumbnail. A solid preview workflow isn't just about following a checklist; it's about knowing how to solve those little problems that can bring your progress to a halt.
Let’s get into some of the most common questions I hear from other creators.
How Can I Preview My YouTube Thumbnail on a TV Screen?
This is a great question, especially now that so many people watch YouTube on their living room TVs. The simplest way to do this is to just cast your computer screen to a smart TV.
All you have to do is open your final thumbnail file in an image viewer, put it in full-screen mode, and cast it. This gives you an immediate, real-world sense of how your design holds up on a massive display. You'll instantly see if any text is pixelated or if the whole image looks blurry—things you’d never catch on your smaller computer monitor.
What Is the YouTube Test and Compare Feature?
This is YouTube's own A/B testing tool, built right into YouTube Studio for eligible creators. It’s a game-changer. The feature lets you upload up to three different thumbnails for the same video.
YouTube then automatically shows these different versions to segments of your audience and tracks their performance. Crucially, it doesn't just look at clicks; it prioritizes "watch time per impression." This metric is gold because it tells you which thumbnail attracts viewers who actually stick around and watch the video, which is a powerful signal to the YouTube algorithm.
Think of it as YouTube helping you find the best possible "advertisement" for your video—the one that brings in the most valuable, engaged viewers.
Why Does My Thumbnail Look Blurry After Uploading?
Ah, the dreaded blurry thumbnail. This is almost always caused by one of two things: low resolution or bad compression.
First off, make sure you're starting with the right canvas size: 1280×720 pixels. If you design on a smaller canvas, YouTube has to stretch your image to fit, which is a surefire way to make it look soft and out of focus.
The other culprit is file compression. YouTube requires your thumbnail to be under the 2MB limit. While many people default to JPG, I've found that saving your final image as a high-quality PNG often does a much better job of preserving the sharpness of text and graphics. It can be the difference between a crisp, professional look and that slightly fuzzy mess that kills your click-through rate.
When Should I Update Thumbnails on Old Videos?
Updating old thumbnails is a fantastic strategy for reviving your back catalog. The best videos to target are the ones with a low click-through rate (CTR) but high audience retention. You can spot these easily in your YouTube Analytics.
Finding a video like this is like striking gold. It means the content itself is great—once people click, they love it—but the thumbnail just isn't doing its job. By giving that video a fresh, modern thumbnail, you can often trigger a new wave of impressions from the algorithm and give your proven content a second shot at success.
Ready to stop guessing and start growing? ViewsMax provides the AI-powered tools and actionable insights you need to optimize your thumbnails, titles, and overall YouTube strategy. Discover how ViewsMax can help you create content that gets noticed.
Leave a Reply